Line as a Design Element + Upcycled Art Project
In math, a line is always solid and straight and a line always goes on and on in both directions. Artistic lines are different — they can be straight, bent, dashed, and have a cool paint brush texture to them. They don’t have to go on and on forever either!
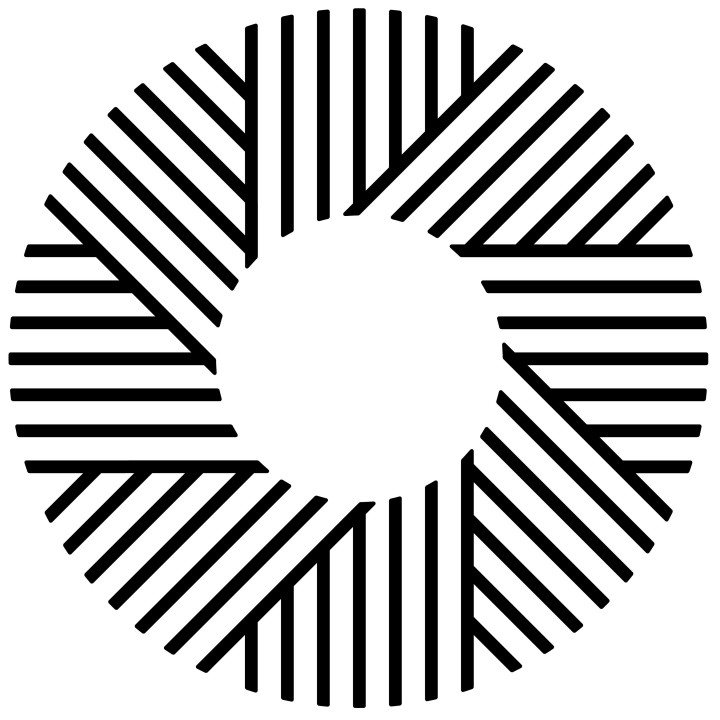
![In this example, lines are used to create a sunburst.]()
In this example, artistic lines are used to create a sunburst.
Artistic lines have a TYPE, like straight, curved, or angular. They have a DIRECTION in relation to the surface, like a piece of paper, or a canvas. Direction can be horizontal, vertical, or diagonal. Line QUALITY can be called thick, delicate, bold, thin, and so on.
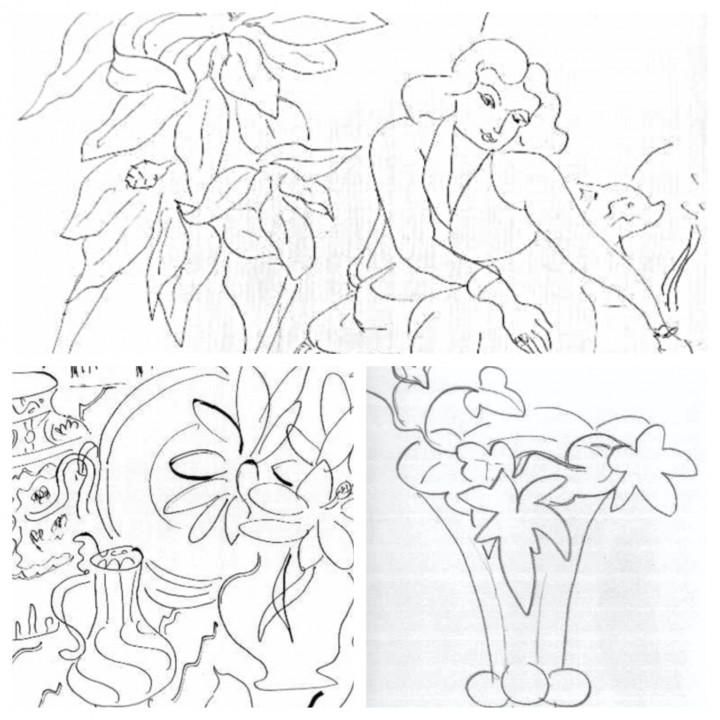
In art, line is a primary design element that is by nature two-dimensional but can suggest three-dimensional forms. For example, the line drawings in French master Matisse’s Thème et Variations series feature spare, unshaded lines that create feminine and still life figures. Matisse also worked in printmaking, producing woodcuts, lithographs, intaglios and linoleum cuts, which all involve the primary use of line.
![Close up of a few works from Matisse’s Thème et Variations]()
Close up of a few works from Matisse’s Thème et Variations.
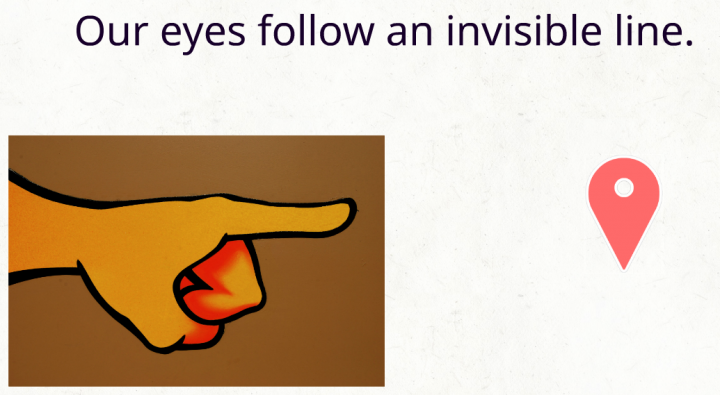
A line is a static mark on a page but it contains momentum. It affects a viewer on a subconscious level with its direction, weight and variations. A line drawing of a pointing finger directs the eye in a particular direction.
![implied-line-art-for-kids]()
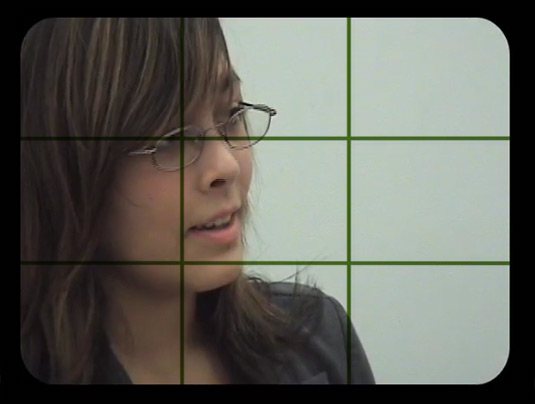
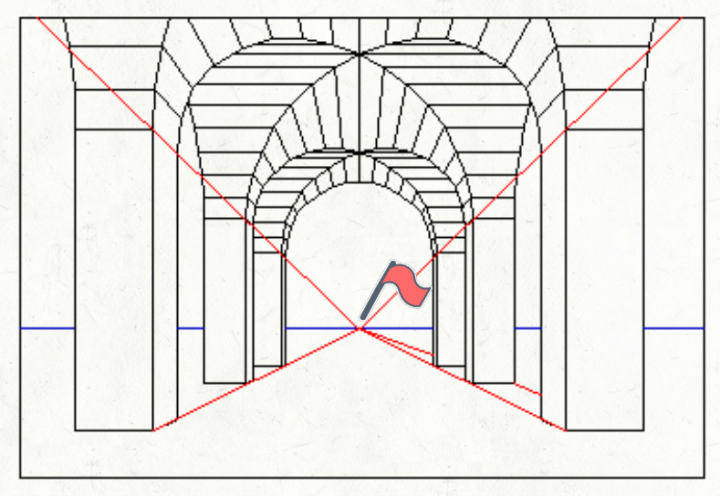
The lines in a painting draw the eye toward a vanishing point:
![vanishing point: elements of design for kids -line]()
Just as important as the other features of design – form, shape, space, color, and texture – line has the ability to incorporate all of these elements in a simple series of pen strokes.
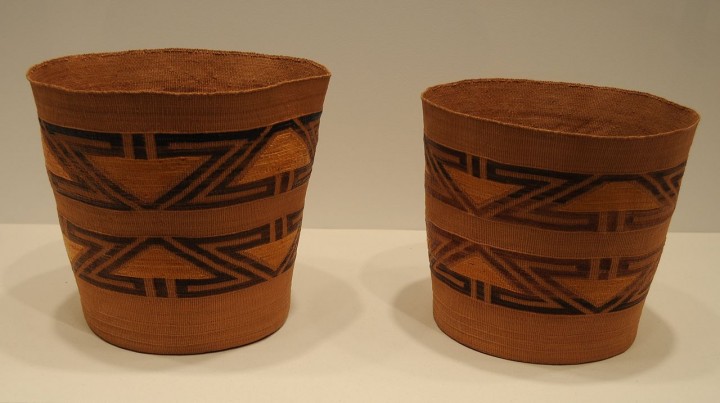
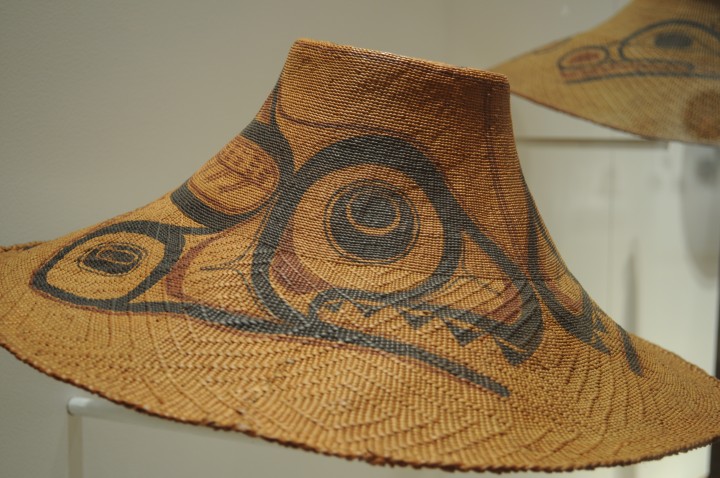
The use of line is essential in virtually all forms of crafts, including basketry, calligraphy and quilting. From the spiraling lines of the weave to the geometric designs of the Tlingit, or the boldly striped patterns of the Haida, the baskets crafted by the Northwest Coast Native Americans utilize line to lead the eye around the basket’s curves. The bold designs of each basket emphasize its cultural importance. It is a vessel historically designed to contain sustenance and to bear the gifts that maintain intertribal bonds. In addition to baskets, the Native Americans also created beautiful hats.
![Tlingit Berrying Basket]()
Tlingit Berrying Basket
![Haida Hat]()
Haida hat: Weaving by Isabella Edenshaw, painting by Charles Edenshaw.
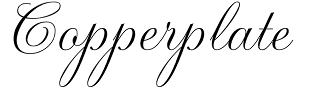
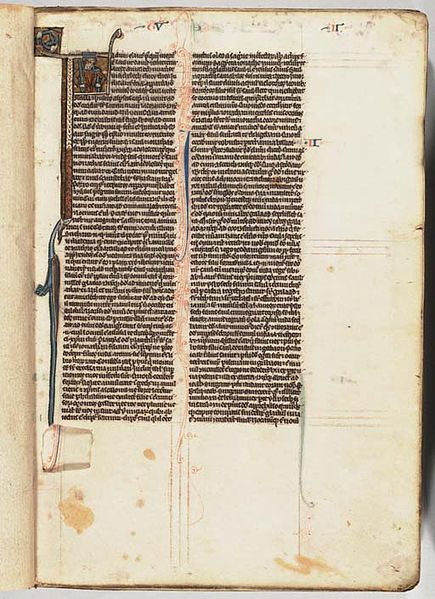
Calligraphers use straight and curved lines to create formal or casual tones, produce decorative or utilitarian effects, and communicate energy or stasis. For example, script alphabets such as Copperplate denote momentum with forward-slanting letters and decorative formality by virtue of curved ascenders and descenders. Upright lettering styles such as Bookhand denote formality and a reserved flair with moderate curves and serifs, or tails, finishing off the pen strokes.
![Copperplate script was prevalent in the 19th century, but was used as early as the 16th century in Europe.]()
Copperplate script was prevalent in the 19th century, but was used as early as the 16th century in Europe.
Bookhand:
![bookhand]()
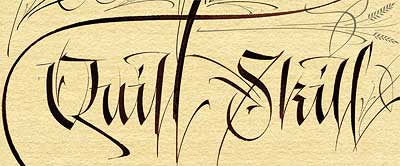
Modern Calligraphy:
![Western-calligraphy]()
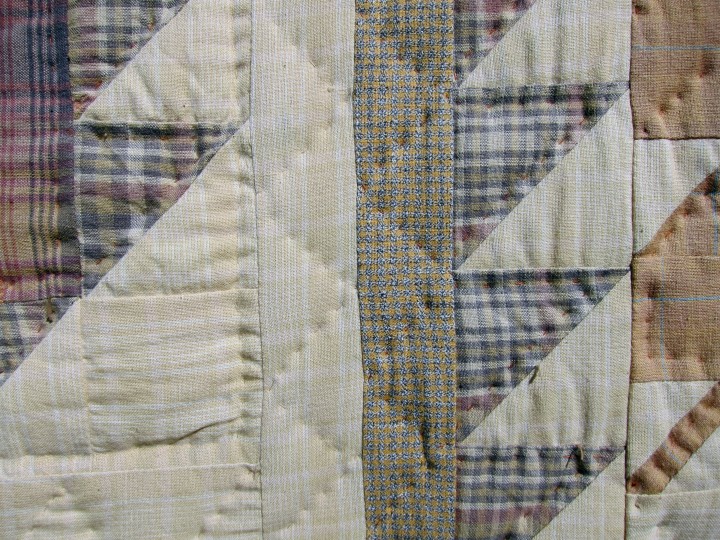
In quilting, the simplest use of line is the stitching that secures the top, back, and batting layers of the quilt in a single package. Whether applied by hand or machine, quilting can consist of simple rows of vertical or horizontal stitching lines, crossing diagonal lines, continuous line patterns such as feathers or waves, or meandering lines known as stippling. Lines of stitching are decorative and functional.
![Quilting can consist of simple rows of vertical or horizontal stitching lines, crossing diagonal lines, continuous line patterns such as feathers or waves, or meandering lines known as stippling. Lines of stitching are decorative and functional.]()
Quilting can consist of simple rows of vertical or horizontal stitching lines, crossing diagonal lines, continuous line patterns such as feathers or waves, or meandering lines known as stippling. Lines of stitching are decorative and functional.
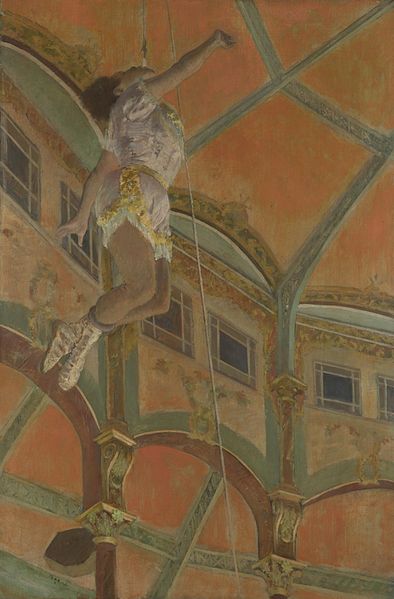
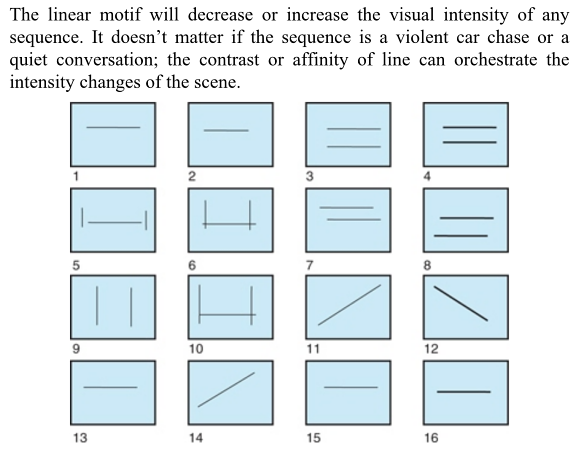
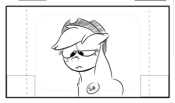
The Visual Story: Creating the Visual Structure of Film, TV and Digital Media by Bruce Bloc is one of our favorite books ever. The image below shows a storyboard where 11, 12, and 13 would be the most intense scenes. As you watch films, try to notice how the motif (horizontal verses diagonal) mirrors the intensity of the storyline.
![line-in-film]()
Horizontal motif (calm):
![my-little-pony]()
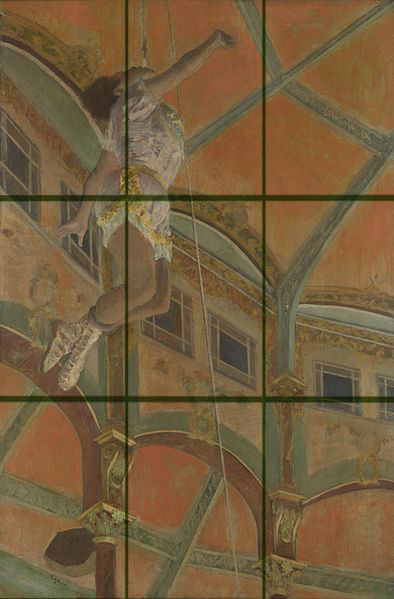
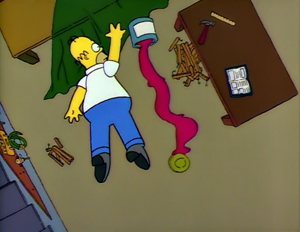
Diagonal Motif (intense):
![diagnol-film-intensity]()
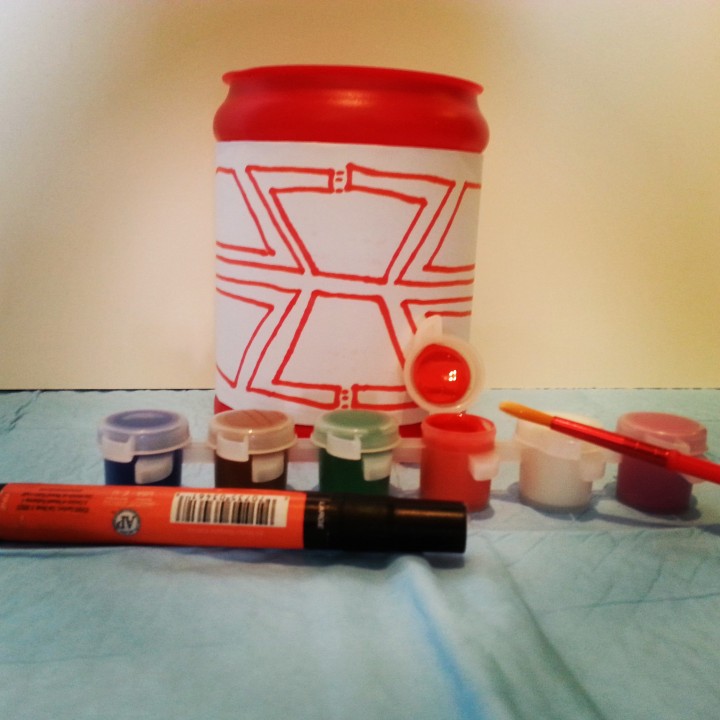
Today’s art idea for kids:
![Today's art project for kids: Make a Tlingit basket by upcycling a plastic coffee container! See below!]()
Today’s art project for kids: Make a Tlingit basket by upcycling a plastic coffee container!
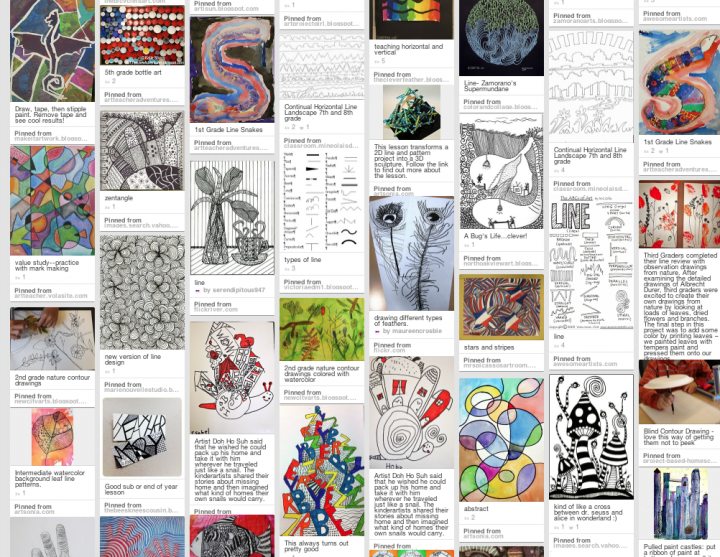
More Fun Projects with LINE:
![line-art-projects-for-kids]()
Melanie Terry’s fantastic pinboard showcases art projects for kids that incorporate line as an element of design.
Beyond Artistic Line — Connected Art…
You may also want to check out:
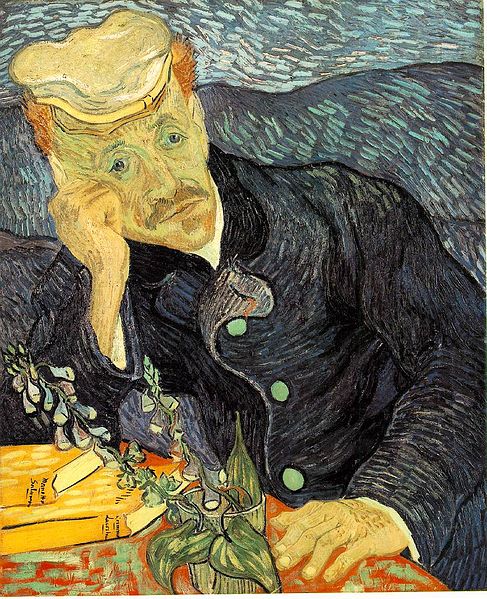
![matisse-for-kids]()
The Tlingit Indians – brief description & some pretty baskets!
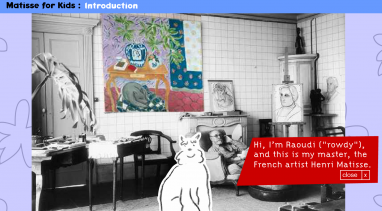
Matisse for Kids – Interactive, from the Baltimore Museum of Art
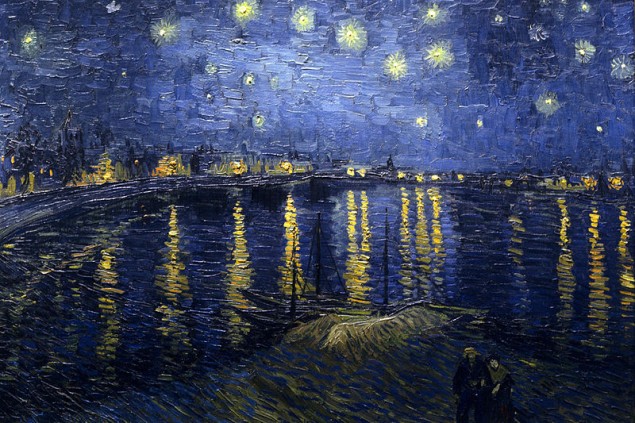
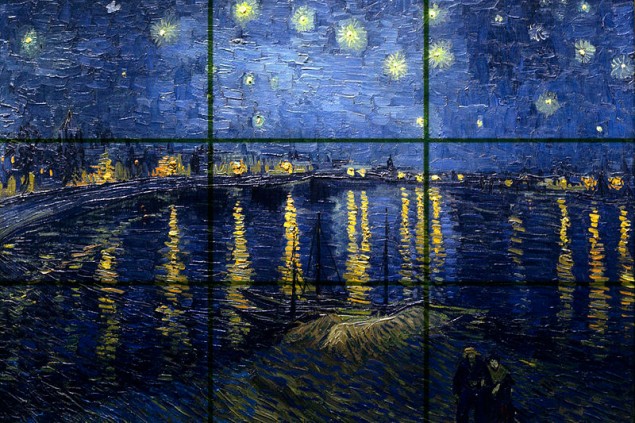
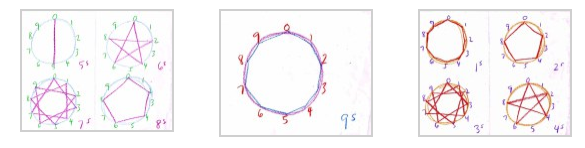
Counting Stars – A great activity from the Institute for Arts Infused Education
Haida Indians – A fact sheet
![counting-stars]()
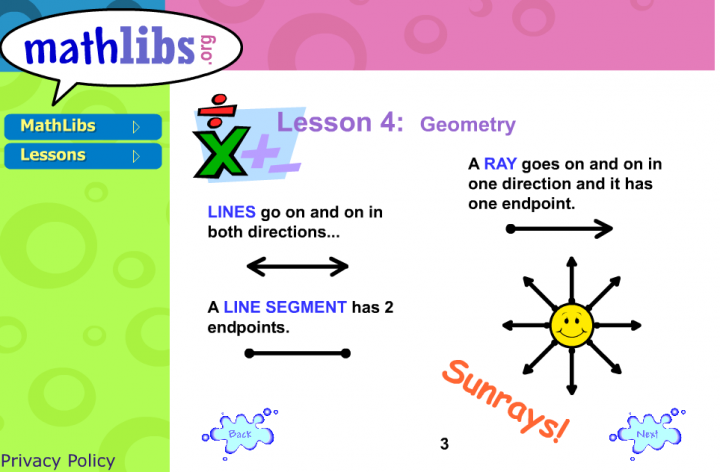
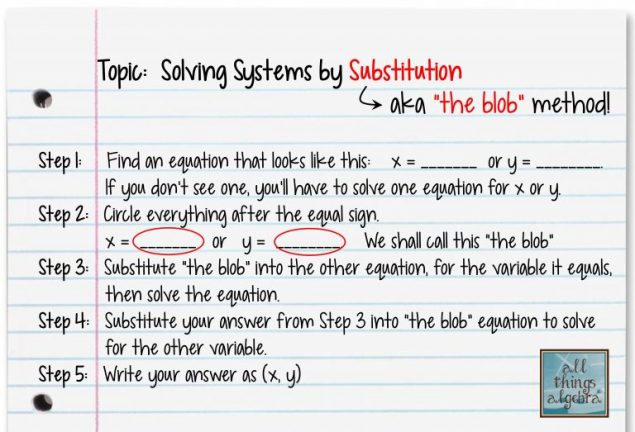
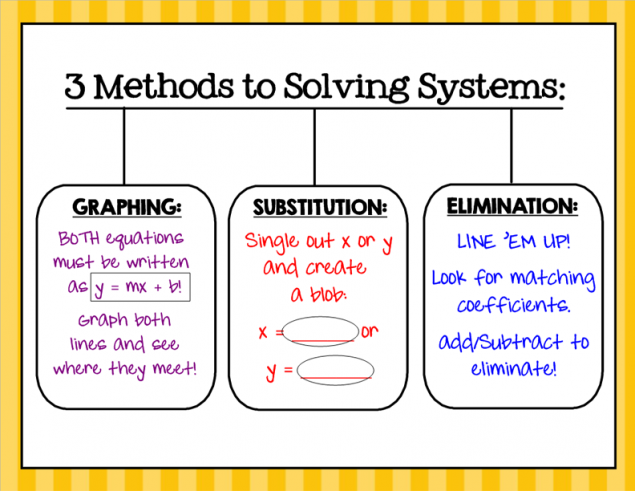
![If you want to learn about LINES in math, check out MathLibs®!]()
If you want to learn about LINES in math, check out MathLibs®!
Prezi:
The post Line: Elements of Design for Kids appeared first on kidCourses.com.


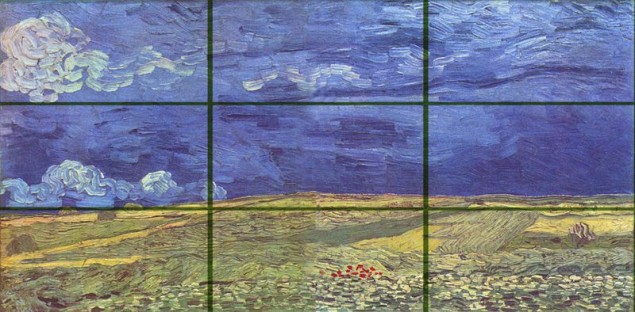
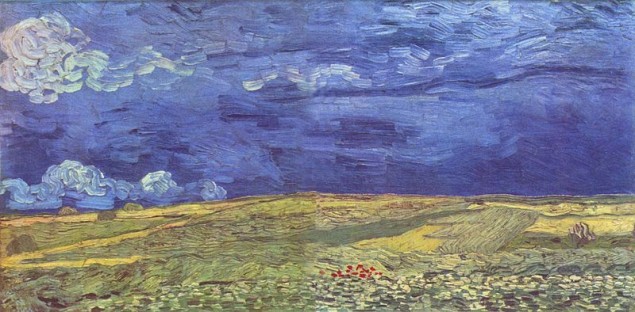 Wheatfield Under Clouded Sky by Vincent van Gogh